La storia della registrazione magnetica in Italia - Castelli, Geloso -
Just during World War II the Arrigo and Attilio Castelli brothers had patented the so called "magnetophone", a device capable to record human voice on a thin metal wire. John Geloso had the financial and industrial resources to translate that brilliant idea into a successful series of consumer products, which started with model G.239 in 1949 (that still used a metal wire) and ended with model G.682 (the last of Geloso reel to reel tape recorders, as far as I know) in 1965.
The production of the G.256 model started in 1959. Here you can find some technical details and photos of it:
www.radiomuseum.org
The service manual of G.256 (named "Bollettino Tecnico No.74") can be downloaded at following link:
Geloso Bollettino Tecnico No.74
Geloso - Tutti i bollettini tecnici
Argomenti dei Bollettini Geloso
Here an illustrated sory of the Geloso company, mainly from an ham radio point of view:
Geloso story
The following photos and videos describe the restoration work I tried to do to improve the general behavior of the unit.
 |
| How it was when I first saw it. Nice external conditions. |
 |
| Opening the unit |
 |
| Opening the unit |
 |
| The bottom side with the electronics on a PCB |
 |
| The mechanical assembly |
Apart from a bit of dirt, which was normal for the age of the unit, the transmission belt was clearly not working properly anymore. I ended up with replacing it with a o-ring rubber gasket which seemed to fit the purpose nicely.
The remaing work was mainly dismounting and cleaning up the different parts. For cleaning, I used 99.9% isopropyl alcohol with a paintbrush and a toothbrush. For the metal chassis and parts I used some abrasive (polishing) paste for car use, applying it with cotton, then removing any residual dirt with alcohol. Alcohol in excess was in turn removed with compressed air.
Electrical contacts was polished with a normal contact cleaner. For lubrication I used small drops of a sewing machine oil, then removing any excess with cotton and alcohol. Only for the flywheel I used a silicon-based white grease, gently applied on flywheel supports by means of a toothpick.
Some other pictures follow:
 |
| The mechanical assembly and electronics decoupled |
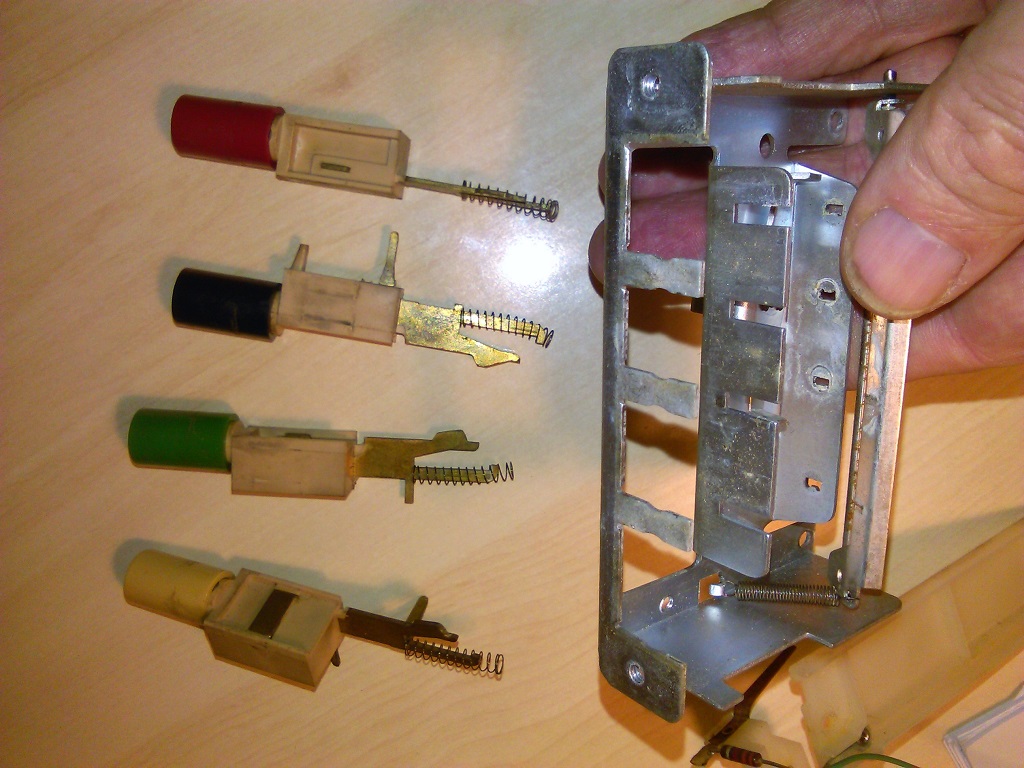 |
| The push-buttons dismounted |
 |
| The magnetic head sub-assembly |
 |
| The rev counter sub-assembly |
 |
| The rev counter driving wheel |
 |
| The chassis after some cleaning |
 |
| The magnetic head sub-assembly after some cleaning |
 |
| The electronic board after cleaning - Solder side |
 |
| The electronic board after cleaning - Component side |
Here below is a short video with a first test just after having reassembled the mechanical assembly and the electronics together:
The rubber of the pinch roller had a mark (clearly visible in picture below) due to the fact that the roller had remained blocked in the same position for a very long time.

To remove the mark, I mounted the pinch roller on a long screw and inserted the screw in the spindle of an electric drill, then I gently sanded it down during rotation by using a small piece of 1000 grade sandpaper. Here below you can see the results. The mark is still visible, but significantly less deep than before. I preferred non to insist too much with sandpaper to avoid any risk to put the roller out of shape.

This is the end of first part of my restoration work. Second part will be about measurements and tests of electronics and finally about cleanup and re-installation of the plastic enclosure of the unit.
Nessun commento:
Posta un commento