Scegli dove andare

sabato 17 gennaio 2015

Un componente un pò particolare

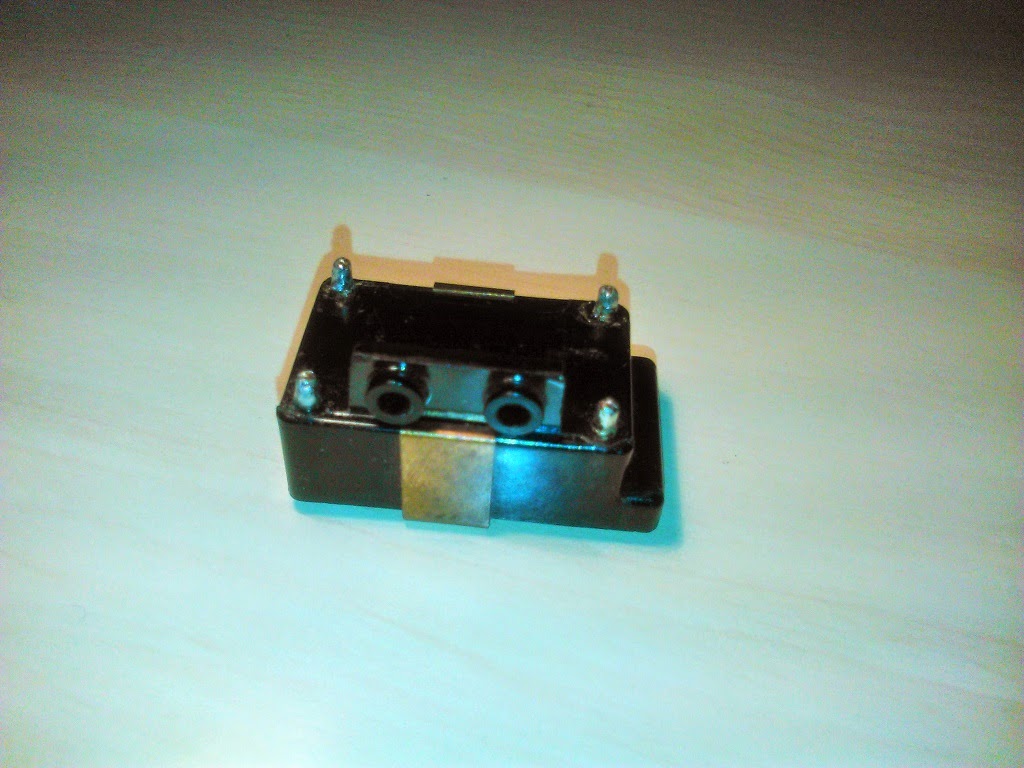
Rovistando, come spesso faccio, nelle scatole e scatolette in cui conservo i componenti per i miei semplici progetti di autocostruzione, oggi mi sono imbattuto in una strana scatolina nera, lunga pochi centimetri, che mi ricordavo di aver smontato da un defunto blocco "master oscillator" che aveva fatto parte - in momenti migliori della sua storia - di un trasmettitore militare inglese Larkspur C11.

Larkspur Station Radio C11/R210

Spinto dalla curiosità, ho voluto indagare sulla funzione ed il ruolo della misteriosa scatoletta, di cui propongo qui sotto alcune foto:


Ho trovato l'informazione che cercavo sul web, a questo link:

The Larkspur C11 transmitter

Inserisco qui sotto un'immagine che ho composto, prendendo dal sito web sopra citato parte dello schema elettrico e della descrizione del master oscillator del trasmettitore Larkspur C11, anche se solo parzialmente leggibile.


In pratica il componente misterioso sarebbe quello che nello schema e nella descrizione viene indicato come "ferrite reactor X1":

"A ferrite reactor (X1) provides oscillator frequency shift for CFS telegraphy. The control or dc winding of X1 is supplied from the 80-0-80 V dc keying supply via SKTG. Changes in current through this dc winding alter the permeability of the ferroxcube core and thus of the toroid or RF winding which is on the core. This winding is in series with MO inductors L1 and L2 and so the MO [frequency] is varied".

Nel breve estratto sopra riportato, MO sta per "master oscillator" e CFS sta per "Carrier Frequency Shift". SKTG si riferisce ad un connettore presente sul pannello frontale del trasmettitore, come indicato nello schema elettrico.

Si tratterebbe in pratica di un sistema ingegnoso per controllare la frequenza dell'oscillatore principale del trasmettitore (e quindi la frequenza della portante, in questo particolare modo di emissione che è la telegrafia CFS), tramite un segnale elettrico esterno, nella fattispecie una corrente continua. Direi quasi un duale dei diodi varicap o varactor, nei quali una tensione continua determina una variazione di capacità.
Una breve ricerca in questo immenso archivio di informazioni che è il web mi ha permesso di colmare almeno in parte la mia ignoranza e di rendermi conto che l'utilizzo di reattanze variabili di tipo induttivo, pilotate da una corrente continua, ha rappresentato - almeno in passato - una soluzione abbastanza diffusa per controllare la frequenza del master oscillator nei trasmettitori. La denominazione più comunemente utilizzata era "saturable reactor" oppure "current-sensitive inductor".
Sarei curioso di misurare l'induttanza dell'avvolgimento RF del dispositivo in mio possesso e di quanto essa possa variare sotto l'effetto di una corrente continua immessa nell'avvolgimento di controllo. Chissà che non possa trovare impiego in qualche futura piccola autocostruzione...


My next regen receiver - The power supply

I'm just starting to collect components and utility modules for my next homebrewing project, which will be another small tube regenerative receiver.
As a starting point, it is always quite important to decide what the power supply for the receiver will be. In my case, I already had a nice vintage Ameco PS-1 tube power supply that seemed almost perfect for this purpose. However, its internal circuit needed some improvements to be made more efficient; and the existing components (in particular, the old selenium rectifier and the electrolytic filter capacitor) needed to be replaced with something newer and safer.

The original schematic diagram of the Ameco PS-1

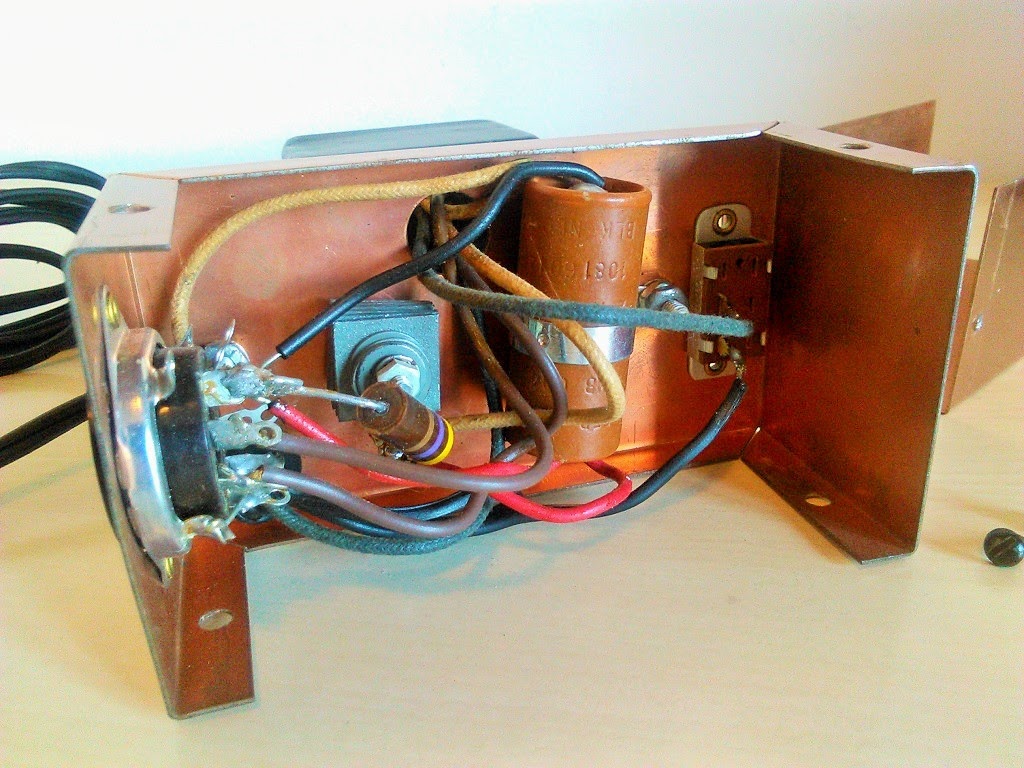
So I put toghether a rectifier bridge on a small piece of stripboard, made by four 1N4004 diodes (each in parallel with a 10 nF ceramic bypass capacitor) and I mounted it inside the power supply box, using the same screw that held the old selenium rectifier in place. Then I replaced the existing 2 x 22 uF, 150 V electrolytic capacitor with a new 100 uF, 400 V device. I removed the RC filter, as my intention is to add proper filtering where needed in the receiver.

The final schematic diagram of the power supply is the following:

The schematic diagram of my modified Ameco PS-1

Here below a photograph showing the new internal wiring:


After having taken the image above, I added a 47 kohms, 1W bleeder resistor in parallel with the DC output.
For increased safety, I have also detached the so-called (in the Ameco PS-1 manual) "internal tie point" from pin 4 of the output connector (refer to figure below).

The modified output connector

In fact, pin 4 of the output connector was simply used as a solder lug to connect one wire from the AC mains to one end of the primary winding of transformer. You can see it in the top right area of picture above.
To have the AC main voltage present on a pin of the output connector - labeled as a very generic "internal tie point" - was a bit dangerous in my opinion!
So I detached the AC mains wire and the transponder wire from the connector and I took the oppurtunity for inserting a fuse holder between them, with a 200 mA fuse.
I finally measured the output voltages (with no load) and found about 160 V DC on B+ and about 6.5 V AC for heaters. When connected to the receiver, I suppose the B+ voltage could drop to around 140 V DC, which should be good for my project.


sabato 3 gennaio 2015

A simple method for accurate tuning of a regen receiver

The short video below shows a simple method for accurate tuning of a regenerative receiver, with the help of a small portable radio with digital frequency readout, 1 kHz tuning accuracy (or better) and SSB mode.
In my video, the regen receiver is the one described in some of my recent posts.
The portable radio is the Tecsun PL-660, that I recently bought on the web to use it for my first experiments as a MW DXer.
Please consider that I have made further modifications on my tube regen, always with the kind help of some members of the regenrx list on Yahoo. The up-to-date schematics is here below:


In particular, I have removed completely the wiring that I had added for the band switch, because it had resulted in a negligible improvement as a feature, while it had caused big problems in terms of spurious resonances that led the detector to demodulate strong local FM stations.
Now the tuning range is again the original 1330 kHz to 3735 kHz, but (thanks to a suggetion from Bernd, a member of the regenrx list) I discovered that I can move it down to approx. 730-2035 kHz, without any modification in the circuit or the tuning coil, by simply inserting a small pack of four ferrite rods in the core of the coil former. I suppose that the tuning range could be moved further down in the MW band by adding another ferrite rod in the pack.
That said, please find here below my short video about a simple method for accurate tuning of a homebrewed regenerative receiver. I hope you will find it of some interest for you.


giovedì 1 gennaio 2015

A tiny vintage tube radio power supply

Sometimes I get attracted by small pieces of vintage electronics and - when the cost of the item is affordable for me - often I can't resist and buy these objects with a collector spirit, even if probably I will never find a practical use for them.
The above is the case of this small vintage tube radio power supply, the Ameco PS-1, that I bought last summer from US on a well known site for on-line auctions.
I put hereafter a small collection of images of the Ameco PS-1, together with its very simple schematic diagram. It can provide 6.3 VAC, 2A for tube heaters and a rectified 125VDC, 25 mA for plates (often named as the B+ voltage).


As you can see from images above, an octal socket is available for connecting the Ameco PS-1 to the user circuit. The socket is wired so that it was possible to plug the Ameco CN line of frequency converters (CN-50, CN-144, CN-220) directly into the PS-1 power supply.


I would like very much to use the Ameco as (a part of) the power supply section of a future homebrewed tube radio, most likely another simple regenerative receiver. I could also add in the receiver some better filtering on B+ and a rectifier - followed by a three terminal voltage regulator (LM7806 or similar) - for the heaters voltage and leave the Ameco PS-1 as it is. Of course, here in Italy it will require a step down transformer from 230 V of AC mains to the required 117 VAC that are used in the US, but this would not be a big problem, given the limited power to be delivered.
That's all for now, with my best wishes to all for a great year 2015.


Google+